Printing is as old as dating back to the 3rd century using woodblock printing. With digital fabric printing just being over 30 years old. These designs are initially designed on computer design software by skilled artists. Then produced on typically large, industrial sized printing machines capturing every fine detail the artist had created. These are dealt with high volume laser or inkjet printers.
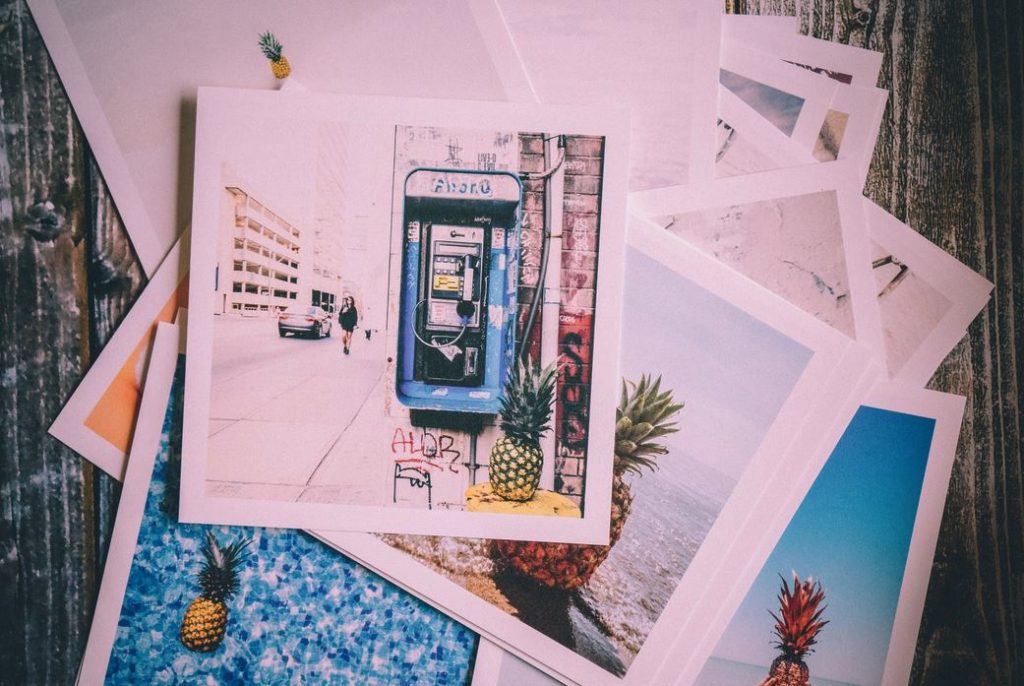
As you would expect, digital printing is a much higher cost per page. With using fabrics, the price can sky rocket. However, I’ll guide you on what you need to know about this process.
What is digital fabric printing?
Or, digital textile printing is the act of taking your custom, digitally made designs then using a larger than average printer to print of various sheets of fabrics. The typical garments would include dresses, graphical t-shirts, robes, decorative head gear and more. Even advertising, such as banners, retail, flags and other forms of promotion.
You or another designer would use various computer desktop tools to create art work you can use on your chosen fabrics. There are various kinds of printers for the job depending on what fabric you are using.
The notable types of printing inks can be classed into eight categories:
Acid, discharge, direct, resist, reactive, pigments, disperse, and speciality.
The fabrics you choose are very important, depending on your project. Each fabric uses a different ink for different purposes. Keeping mind, that all fabrics listed below can share one ink in particular and that is “Pigments”. Here are some materials you can expect when working with digital fabric printing;
Polyester, linen, rayon, silk, wool, nylon, and cotton.
You now have a basic grasp on what digital fabric printing consists of, so let’s now find out it works,.
How does digital printing on fabric work?
Instead of the typical printing process, the fixer is applied to the fabric first before printing. This is known as “padding” which is done by an external finisher. Before printing the final design, the padding is print tested then calibrated to the amount of ink it needs to give it the final finish. Applying too much or too little will potentially destroy your original design.

When we move on to your design,, we place the fabric you need onto the printer. We are making sure that the ink head is at the correct height for the fabric. Depending on your chosen fabric, the height will vary so keeping an eye on this is important. Now we are ready to print. If everything is good, your printer head will rapidly move left and right as your fabric is being printed out. The head will place multiple layers during the passing of the fabric.
At this point the fabric must be steamed by “fixing”. A different quality of steam and length of fabric is required for this process. The type of fabric you use is important so keeping an eye on what steam you use is key for better results.
Block printing on fabric
Taking a quick break from digital fabric printing, let’s take a look at an age old technique. As mentioned above, printing dates back to the 3rd century ( or 200 AD ). This is known as “woodblock printing” or block printing for short. The earliest record can be found in China where carved blocks of artwork were made to produce images as well as text. This method also existed into the 7th century in China where paper, cloths and books were printed on.
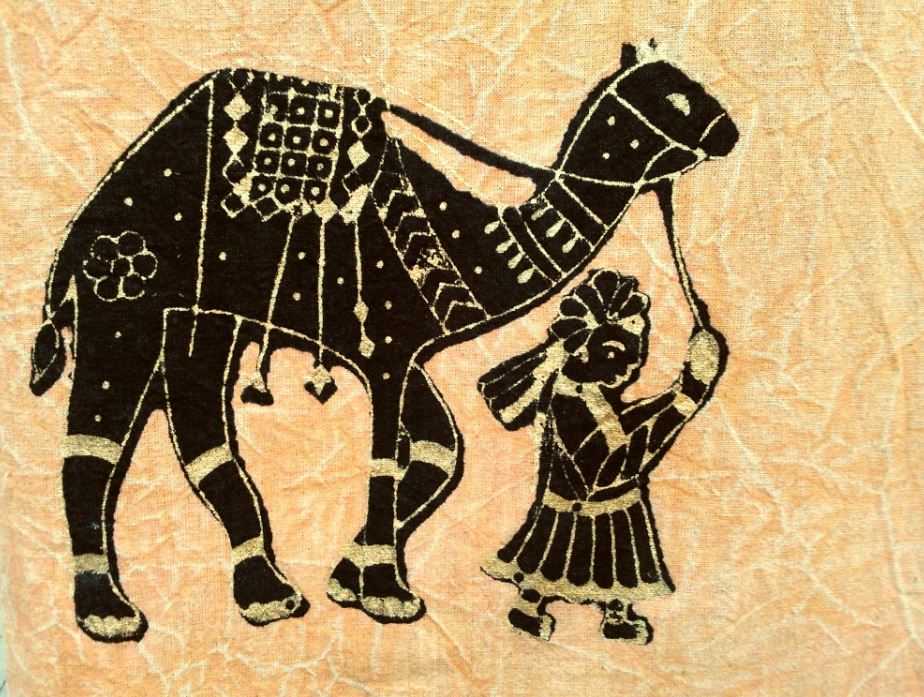
Today we see modern designers and craftsmen using this technique for their projects. You can find block print on various items such as furniture accessories, clothing, sheets, decorative cloths, book covers and just about anything with a smooth, paper like surface.
As you can see this practice has been in play for nearly two millennium. Although we have a slew of advanced technologies, crafting and building naturally is embedded in our genes.
Other methods of fabric printing
Like with block printing, you do not need to use a big industrial printer to get the job done. There are a few more methods you can use when you’re fabric printing at home. Here are some items you’ll need to do this;
Freezer paper, adhesive spray, an iron, books, fabric scissors, card stock, muslin, newspaper, and an inkjet printer.
Using freezer paper
This method requires regular freezer paper and an inkjet printer. Freezer paper is a thick sheet of typically A4 sized paper that has a wax coating on one side. This is usually made specifically for meats or sea food with the wax side facing the meat.
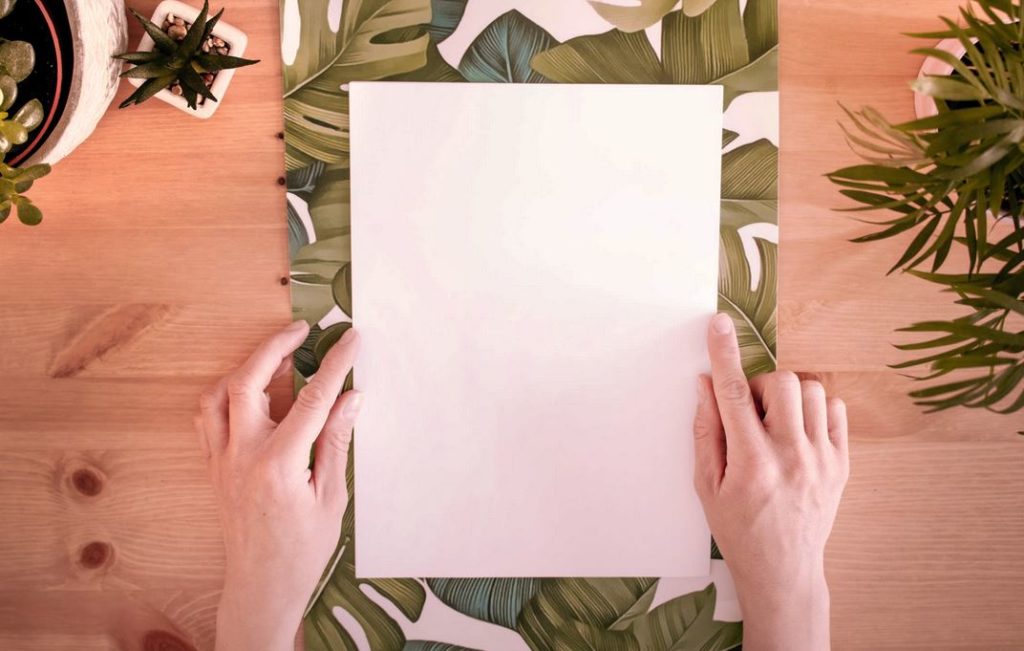
To start, make sure your sheet is a size that can pass through your printer. Use a stack of books to prevent your sheet from curling. Next,, take some fabric, cut it the same length and width as your freezer sheet. The freezer paper will go shiny side down on the fabric where you can now iron them both together.
For printer settings, set it to the heavy paper setting it has. Experiment with the coloring until you’re happy with it. Finally, after the ink has dried, peel the fabric away from the paper and you’re done!
Adhesive spray
Another alternative method to digital fabric painting is the spray adhesive method. This is done by spraying the paper with adhesive. Then place the card stock down then spray lightly on the entire sheet. Go on to cut up the card stock then face it adhesive side down onto the fabric. Be sure to smooth everything down by hand. Next step is to start printing, like the above method make sure you have the same settings.
