Thinking about painting your fence?
Before picking up a paintbrush, it’s crucial to ensure that your fence is properly cleaned.
We discuss why cleaning your fence before painting is essential, what tools you will need, and provide step-by-step instructions on how to clean your fence effectively.
Get your tools ready and start reviving your fence with our helpful tips!
Why Should You Clean Your Fence Before Painting?
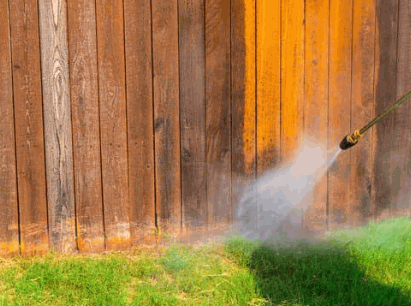
Cleaning your fence before painting is an essential step to ensure that the paint adheres properly and provides a long-lasting finish, free from dirt, mold, mildew, and other contaminants that can affect the outcome.
By properly cleaning your fence before applying paint, you not only create a smooth surface for better paint adhesion but also help enhance the durability and appearance of the fence.
Products such as Cuprinol Ducksback are specifically formulated to protect against weathering and moisture, ensuring a long-lasting finish.
Neglecting to clean the fence thoroughly can lead to issues such as mold and mildew growth, which not only affect the aesthetics but can also damage the wood over time.
Weather conditions play a crucial role in the cleaning process; for instance, cleaning a fence on a dry, sunny day can help the cleaning products work more effectively and dry faster, allowing you to paint sooner.
Check out: How To Install A Wood Fence
What Tools Do You Need To Clean Your Fence?
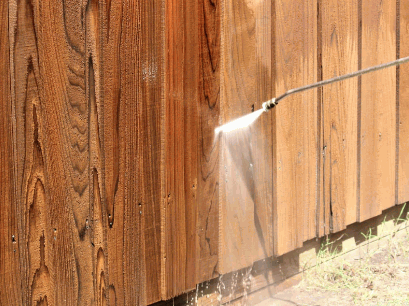
Before you begin cleaning your fence, it’s important to gather all the necessary tools to ensure an efficient and thorough job, including a pressure washer, scrub brush, appropriate cleaning solution, and a garden hose.
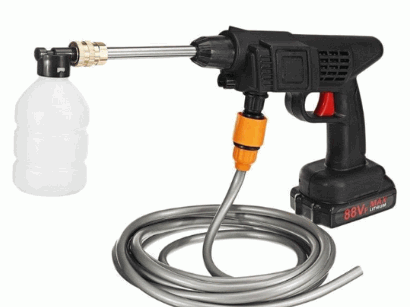
Pressure Washer
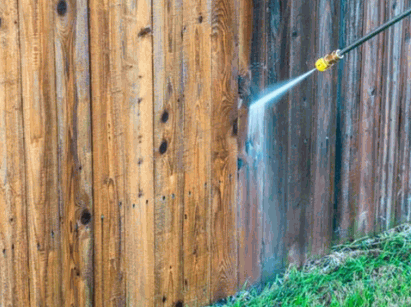
A pressure washer is an invaluable tool for cleaning your fence, as it can effectively remove dirt, algae, and moss from the surface with its powerful water jets.
This versatile equipment is not limited to just fences; it can also tackle a wide range of surfaces like driveways, decks, patios, and even vehicles. The high-pressure stream can easily blast away stubborn grime, grease, and stains, giving you a pristine finish in a fraction of the time. Compared to manual scrubbing, a pressure washer offers unmatched efficiency, saving you both time and effort while delivering superior results. Whether you’re preparing surfaces for painting or simply maintaining cleanliness around your property, a pressure washer is a must-have tool for any homeowner.
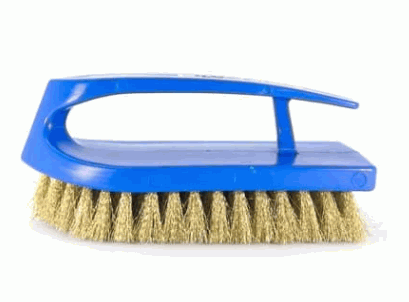
Scrub Brush
Using a scrub brush is essential for tackling stubborn mold, mildew, and stains on your fence that a pressure washer might miss.
There are various types of scrub brushes available, each designed for specific purposes.
- Wire brushes are ideal for heavy-duty tasks on metal surfaces.
- Nylon bristle brushes are gentler and suitable for delicate surfaces like glass or tiles.
- Stiff-bristle brushes are great for scrubbing concrete or brick.
To effectively use a scrub brush, start by wetting the surface and applying a suitable cleaning solution. Then, firmly scrub in a back-and-forth motion, focusing on tough spots. Rinse the area thoroughly to remove dirt and residue before beginning the painting process.
Cleaning Solution
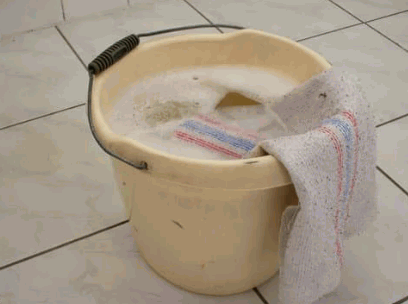
A good cleaning solution, such as a mixture of bleach and water or an eco-friendly option like vinegar, is crucial for removing mold, algae, and mildew from your fence.
In terms of commercial products, Patio Magic is a popular choice for tackling tough outdoor stains. This ready-to-use solution is effective in killing algae, moss, and mold, restoring the appearance of your fence.
- To prepare a bleach and water solution, mix 1 part bleach with 3 parts water in a bucket.
- For an eco-friendly solution, combine equal parts of vinegar and water.
- Always wear protective gear like gloves and goggles when handling cleaning solutions.
Garden Hose
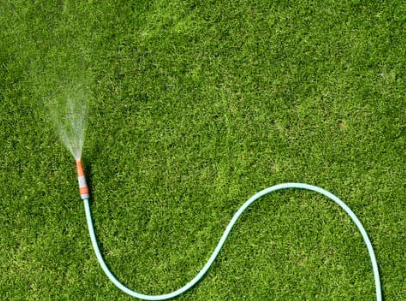
A garden hose is necessary for rinsing off the cleaning solution and any dislodged dirt and debris from your fence.
After applying the cleaning solution to the fence, rinsing thoroughly is crucial to ensure that all traces of the solution are removed. This step not only helps prevent any potential damage to the fence material but also ensures a clean and polished final look.
When rinsing, it is recommended to use a medium water pressure setting on your garden hose. This pressure is strong enough to effectively remove the residues but gentle enough not to cause any harm to the fence surface.
Steps To Clean Your Fence Before Painting:
Cleaning your fence before painting involves a series of steps that ensure the surface is properly prepared for your project, leading to a more durable and aesthetically pleasing finish.
Step 1: Prepare The Area
Start by preparing the area around your fence, which includes clearing away any plants, furniture, or other items that could obstruct your cleaning project.
It’s crucial to protect these nearby elements while you tackle the fence-cleaning process. Consider laying down tarps or plastic sheets to avoid any potential damage from cleaning solutions or debris. By creating a barrier between the cleaning area and your plants or furniture, you can ensure that they remain unharmed during the cleaning process.
Step 2: Remove Loose Debris
Remove any loose debris from the fence using a brush or your hands, which will make the subsequent cleaning steps more effective.
Clearing away the leaves, twigs, and cobwebs is crucial before moving on to deeper cleaning processes. This initial step not only enhances the overall cleaning efficiency but also prevents the accumulation of dirt and grime in hard-to-reach areas.
By ensuring the surface is free from debris, you set a solid foundation for a thorough cleanse that will leave your fence looking fresh and well-maintained. Keeping the fence free of loose debris also helps in identifying any areas that might require specific attention during the cleaning process, ensuring no spots are missed.
Step 3: Apply Cleaning Solution
Apply the chosen cleaning solution to your fence, targeting areas with visible mold, mildew, and algae buildup.
Before applying the solution, ensure that you have thoroughly mixed it according to the manufacturer’s instructions. Use a large bucket or mixing container to combine the solution with water in the prescribed ratios. Stir the mixture well to achieve a uniform consistency.
When ready, put on protective gear such as gloves and eye protection to shield your skin and eyes from any potential splashes or fumes. Safety should always be a top priority when dealing with cleaning chemicals.
Step 4: Scrub The Fence
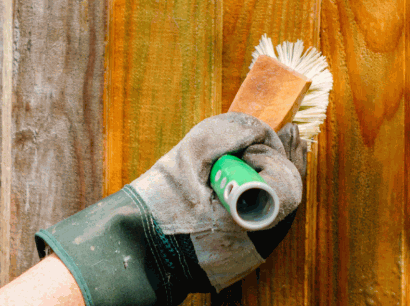
Scrub the fence with a brush to remove stubborn stains, mold, and mildew, ensuring the surface is clean and smooth.
To effectively reach all the nooks and crannies of the fence, consider using a power scrubber for larger or heavily soiled areas. The power scrubber’s oscillating or rotating motion can provide a deeper clean compared to manual scrubbing, making it ideal for tackling tough grime. When using a power scrubber, it’s important to choose the right brush attachment based on the surface material to prevent damage. Employing a gentle back-and-forth motion while scrubbing can help loosen embedded dirt and ensure a thorough cleaning process.
Step 5: Rinse The Fence
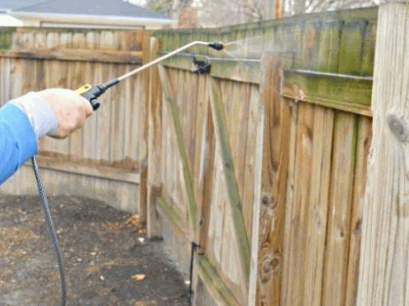
Rinse the fence thoroughly with a garden hose to remove all traces of the cleaning solution, dirt, and residues.
When rinsing the fence, it’s crucial to ensure you maintain the appropriate water pressure to effectively wash away any lingering grime. Adjust the nozzle to achieve a moderate yet forceful stream, striking the surface at a slightly downward angle for optimal coverage and cleaning power.
Remember to inspect the fence closely after rinsing to check for any leftover residues that may require additional attention. This step is vital in achieving a spotless finish and preventing potential long-term damage to the material.
Step 6: Let The Fence Dry
Allow the fence to dry completely before applying any paint, which may take a few hours to a day depending on the weather forecast.
Ensuring that the fence is fully dry before painting is crucial to achieve a smooth and long-lasting finish. If paint is applied to a damp surface, it can lead to bubbling, cracking, or peeling, which will affect the overall look and durability of the paint job.
To speed up the drying process, consider using a fan or a heat gun on a low setting to help evaporate moisture more quickly. Choosing a sunny and breezy day can significantly aid in drying the fence faster.
What Are Some Tips For Cleaning Your Fence?
Cleaning your fence effectively requires some practical tips, such as wearing protective gear, choosing the right cleaning solution, and working in sections to ensure a thorough cleaning.
Wear Protective Gear
Wearing protective gear like gloves and goggles is crucial when cleaning your fence to ensure your safety from potentially harmful cleaning solutions and debris.
Other essential protective gear includes sturdy closed-toe shoes to protect your feet, long sleeves, and pants to shield your skin from splashes, and a face mask to prevent inhalation of fumes.
- Be sure to check that all gear fits properly and is in good condition before starting the cleaning process.
- When using chemicals, it is advisable to wear chemical-resistant gloves to minimize skin exposure.
- Regularly inspect and clean your protective gear to ensure it remains effective and safe for future use.
Choose The Right Cleaning Solution
Selecting the appropriate cleaning solution, whether it’s bleach, vinegar, or a commercial product, is essential for effectively removing mold, algae, and mildew from your fence.
Each cleaning solution comes with its own set of advantages and disadvantages.
- Bleach is a powerful disinfectant that can effectively kill mold and mildew. It can be harsh on the environment and may discolor certain surfaces.
- Vinegar is a natural alternative that is safe for the environment and effective against mold and mildew. It may not be as potent as bleach and may require more frequent applications.
- Commercial cleaning products often contain specific ingredients targeted at different types of dirt and stains. While convenient and usually effective, they can be more expensive and may contain harsh chemicals.
When choosing a cleaning solution, consider the severity of the dirt or stain, the material of your fence, and your environmental concerns to make the best choice for your cleaning needs.
Test A Small Area First
Before applying the cleaning solution to the entire fence, it’s wise to test a small, inconspicuous area to ensure it doesn’t cause any damage or discoloration.
Testing the cleaning solution on a small area allows you to assess its impact on the fence material, be it wood, vinyl, or metal.
Conducting this test helps in avoiding potential disasters that could arise if the solution reacts adversely with the material.
Work In Sections
Working in sections ensures you can thoroughly clean, scrub, and rinse each part of the fence without missing any spots.
Dividing the fence into manageable sections not only makes the cleaning process more efficient but also ensures a more thorough job. By focusing on one section at a time, you can give each part the attention it needs. A helpful tip is to start from the top and work your way down, washing off any dirt or grime as you go. Make use of a sturdy scrub brush or pressure washer to target stubborn stains or build-up. Checking each section after cleaning is crucial to ensure an even finish across the entire fence.
Be Thorough With Cleaning
Being thorough with cleaning is essential to remove all stains, mold, and mildew, providing a clean surface ready for painting.
One key strategy for achieving a spotless fence is to perform multiple passes with your cleaning tools and solutions. Start by scrubbing the surface with a stiff brush to loosen dirt and grime. Follow this up by rinsing the fence with a strong jet of water to remove any remaining debris.
Another crucial aspect of thorough cleaning is paying attention to the nooks and crannies of the fence. Use a smaller brush or toothbrush to access tight spaces and ensure every corner is free from buildup.
Attention to detail is key in attaining a truly clean fence that sets the stage for a flawless paint job.
