Cleaning walls after plastering is a crucial step that ensures a smooth and polished finish to your walls. In this comprehensive guide, we will explore the importance of cleaning walls after plastering, the essential tools and materials needed for the task, and a step-by-step process to achieve pristine walls.
We will discuss important precautions to take during the cleaning process and address the frequency at which walls should be cleaned post-plastering. Whether you’re a DIY enthusiast or a professional, understanding the proper cleaning techniques will help you maintain the quality and aesthetics of your walls.
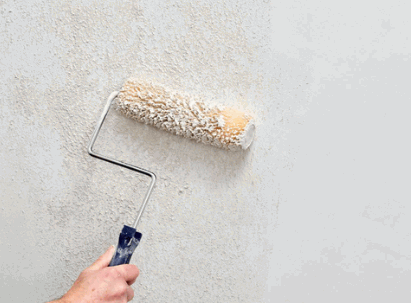
Why Is It Important To Clean Walls After Plastering?
It is crucial to clean walls after plastering to ensure a smooth and pristine surface for painting and maintenance, especially in the context of renovation and home improvement projects.
A thorough cleaning of the walls post-plastering is essential to remove any residual plaster dust, which can compromise the adhesion of paint and leave unsightly blemishes on the surface. Proper surface preparation is the cornerstone of a successful paint job, and cleaning the walls ensures that the paint adheres evenly and lasts longer.
A clean surface contributes to the overall maintenance of the property, preventing the buildup of dirt and grime, and preserving the aesthetic appeal of the interior spaces.
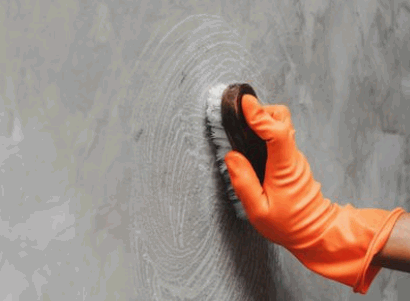
What Tools And Materials Do You Need To Clean Walls After Plastering?
To clean walls after plastering effectively, you will need a set of specific tools and materials tailored to the task, ensuring thorough removal of plaster dust and preparation for further maintenance or renovation.
These essential tools include:
- a soft-bristled brush or vacuum for removing loose dust,
- a sponge and water for gentle cleaning of the surface, and
- a dry cloth to ensure a smooth finish.
A joint compound and putty knife are crucial for patching up any imperfections on the wall. By using these tools in combination, you can achieve a clean and smooth surface, essential for the success of any subsequent construction or DIY tasks. Proper cleaning and preparation ensure that the new layers of paint or other finishes adhere securely, leading to a durable and aesthetically pleasing result.
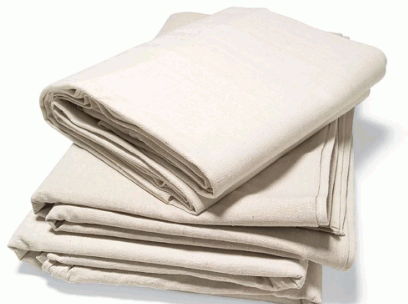
Drop Cloths
When cleaning walls after plastering, the use of drop cloths is essential to protect surrounding surfaces and flooring from any potential debris or cleaning solution runoff.
Drop cloths serve as a crucial barrier, preventing dust and debris from settling on furniture, floors, and fixtures during the cleaning process. Placing drop cloths strategically, such as securing them with tape or weights, ensures full coverage and minimizes the risk of accidental damage. Properly using drop cloths not only maintains cleanliness but also creates a professional and organized work environment.
By safeguarding against spills and stains, drop cloths contribute to a smooth and efficient cleaning process, ultimately saving time and effort on extensive cleaning and repairs.
Vacuum Cleaner
A vacuum cleaner is a crucial tool for removing plaster dust and debris from walls after plastering, facilitating efficient and thorough cleaning for subsequent maintenance or finishing tasks.
It plays a pivotal role in ensuring that the walls are clean and free of any residual dust, which is essential for achieving a smooth and polished finish. Using a vacuum cleaner with a HEPA filter can effectively capture fine particles, preventing them from circulating back into the air.
When choosing a vacuum cleaner for post-plastering cleanup, consider models with strong suction power and attachments specifically designed for cleaning walls and corners. Proper technique involves starting from the top and working downwards, using slow and steady movements to ensure all the dust is effectively removed.

Soft Bristle Brush
Utilizing a soft bristle brush is essential for the gentle yet effective removal of plaster dust and residue from walls after plastering, ensuring a clean and smooth surface for subsequent maintenance or finishing applications.
This type of brush is specially designed to be gentle on freshly plastered walls while effectively lifting and capturing the fine particles of dust and residue. When using a soft bristle brush, it’s important to employ gentle, sweeping motions to avoid damaging the delicate surface of the plaster. Pay attention to the direction of the brush strokes, working from the top of the wall downwards to prevent dust from resettling. Regularly clean the brush during use to prevent re-depositing the debris onto the wall, ensuring a thorough cleaning process.
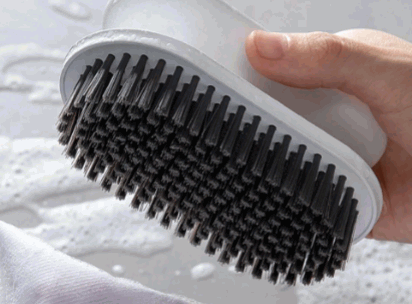
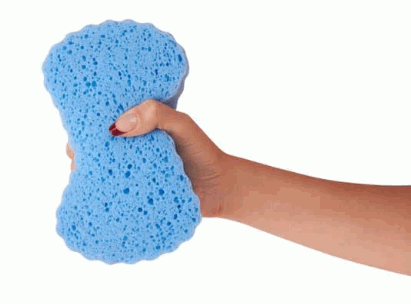
Sponge
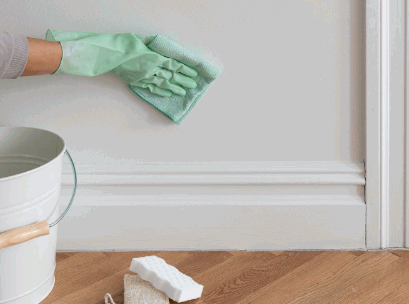
Using a sponge, dampened with water or a mild vinegar solution, is an effective method for removing any remaining residue and preparing the walls for subsequent finishing or maintenance tasks after plastering.
The sponge’s unique texture allows it to gently scrub away any lingering debris or dust particles without causing damage to the freshly plastered surface. By using a circular motion while applying slight pressure, the sponge helps create an even and smooth base, essential for achieving a flawless paint finish.
The water or vinegar solution aids in breaking down stubborn spots and ensures a thorough cleaning, resulting in a pristine surface ready for the next step in the renovation process.
Water
Water is a fundamental element in the post-plastering cleaning process, serving as a versatile and essential component for removing plaster dust and residue while preparing the walls for subsequent maintenance or finishing applications.
It plays a crucial role in prepping surfaces for painting, ensuring that any remaining plaster particles and fine dust are thoroughly washed away. By using water in conjunction with gentle sponges or cloths, one can effectively clean the walls and create a smooth surface that promotes better adhesion for paint or other finishing materials.
Water aids in maintaining the integrity of the plastered surface, preventing any potential damage that might occur from residual dust or contaminants.
Cleaning Solution
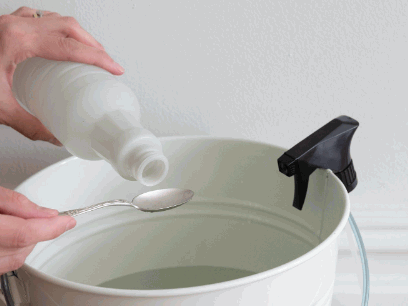
A suitable cleaning solution is essential for effectively removing plaster dust and residue from walls after plastering, ensuring thorough surface preparation for subsequent maintenance or finishing applications.
It plays a crucial role in not only eliminating the leftover dust and residue but also in creating a clean and smooth surface, which is imperative for achieving a flawless paint application or any further maintenance work. Choosing the right cleaning solution tailored to the specific needs of the surface and type of plaster is paramount to ensure optimal cleaning results. The application process, including dilution ratios, dwell time, and appropriate tools, also significantly impacts the effectiveness of the cleaning solution. Understanding these factors is essential for achieving a clean, well-prepared surface.
Bucket
A bucket is a practical and essential tool for containing water, cleaning solutions, and facilitating the cleaning process, ensuring convenient and efficient wall cleaning after plastering.
It supports the seamless integration of water and cleaning agents, allowing for the effective application of solutions to the targeted surfaces. The durable construction of a bucket ensures it can withstand the rigors of cleaning activities, providing a reliable vessel for the necessary fluids. Proper handling of the bucket, including stable placement and controlled pouring, contributes to the efficiency of the cleaning process, minimizing spillages and optimizing the utilization of cleaning materials. Therefore, incorporating a bucket into the cleaning process is integral for achieving thorough and effective results.
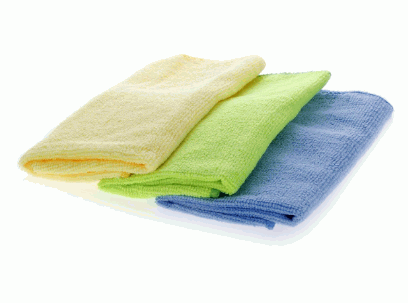
Microfiber Cloth
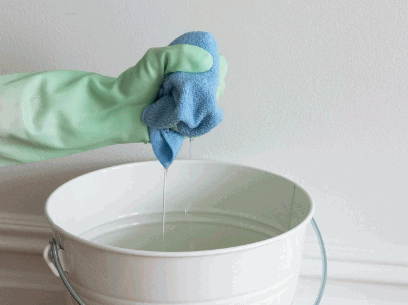
Using a microfiber cloth is an effective method for final residue removal and ensuring a clean and smooth surface after plastering, serving as an essential tool for thorough wall maintenance and finishing preparation.
It’s remarkable how a simple microfiber cloth can play such a significant role in the final stages of cleaning. Its ultra-fine fibers have an impressive ability to attract and trap residue, ensuring that the surface is impeccably clean and free from any remaining particles. In addition to removing plastering residue, the cloth also helps in achieving a polished and smooth finish, making it an indispensable tool for maintaining the pristine appearance of walls and surfaces.
To make the most of a microfiber cloth, it’s crucial to use the correct technique. When using the cloth, ensure that it’s clean and free from any debris that could potentially scratch the surface. Gently wipe the surface in a consistent motion, applying just enough pressure to lift off any remaining residue without damaging the finish. By following these guidelines, you can achieve optimal cleaning and maintenance results, leaving your walls looking flawless and well-maintained.
How To Clean Walls After Plastering?
Cleaning walls after plastering involves a series of meticulous steps and techniques to effectively remove plaster dust, and residue, and prepare the surface for subsequent painting or maintenance tasks.
Start by ventilating the room to reduce dust circulation and protect yourself by wearing appropriate safety gear. Use a vacuum with a brush attachment to carefully remove loose dust from the walls, followed by wiping the surface with a damp sponge or cloth to pick up any remaining residue.
Next, inspect the wall for imperfections, such as bumps or holes, and fill them with spackling compounds before sanding the surface smoothly. Properly cleaning the walls not only ensures a clean canvas for painting but also enhances the overall durability and aesthetics of the finished surface.
Remove Dust And Debris
The initial step in cleaning walls after plastering involves thorough dust removal and debris cleanup to ensure a clean and smooth surface for subsequent maintenance or finishing tasks.
This crucial step sets the foundation for a high-quality finish and prolongs the lifespan of the walls. To effectively remove dust, start by using a vacuum cleaner with a brush attachment to gently suction any loose particles. Next, wipe the walls with a damp microfiber cloth, ensuring that all residual dust is lifted.
For debris cleanup, carefully sweep the area and use a handheld brush to target corners and crevices. Removing all dust and debris is essential for achieving a professional and durable wall finish.
Use A Cleaning Solution
Applying a suitable cleaning solution is the next step in the wall cleaning process after plastering, serving to effectively remove plaster dust and residue while preparing the surface for subsequent maintenance or finishing applications.
This crucial step ensures that the wall surface is free from any remaining debris and is ready for painting or further maintenance work. The selection of the right cleaning solution is essential to ensure the effective removal of plaster dust and residue without damaging the freshly plastered surface. The application of the cleaning solution should be done following the product’s instructions, considering factors like surface material and the extent of plaster residue. By using the correct cleaning solution and following its application guidelines, one can achieve optimal cleaning results, ensuring a smooth and pristine surface for subsequent finishing work.
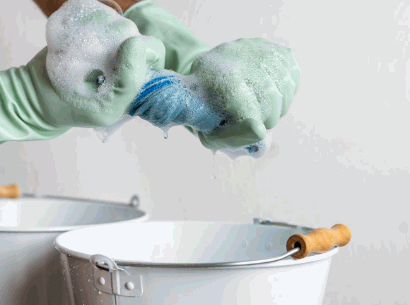
Scrub The Walls
Scrubbing the walls thoroughly is a critical step in the cleaning process after plastering, ensuring the removal of any remaining plaster dust and residue for a smooth and pristine surface.
This step is crucial as it sets the stage for subsequent maintenance or finishing applications. The removal of plaster dust and residue not only enhances the visual appeal of the walls but also prevents any potential damage that could occur due to the accumulation of debris.
To achieve optimal results, it is important to use effective scrubbing techniques such as using a gentle yet abrasive sponge or cloth, combined with a suitable cleaning solution. Paying attention to detailing and ensuring no areas are left unscrubbed is essential for achieving a uniformly clean and smooth surface.
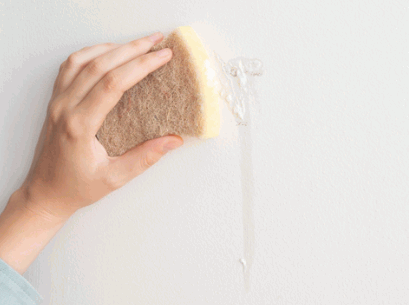
Rinse With Clean Water
Rinsing the walls with clean water is essential to remove any remnants of the cleaning solution and residual debris, ensuring a thoroughly clean and prepared surface after plastering. It plays a critical role in achieving a pristine finish for subsequent maintenance or finishing applications. Proper rinsing helps to eliminate any lingering residue, which could potentially affect the adhesion and effectiveness of new coatings or finishes. The technique involves using a gentle, consistent flow of water, ensuring thorough coverage of all surfaces. This process not only aids in the removal of any leftover cleaning agents but also assists in creating an optimal canvas for newly applied treatments, resulting in a more durable and flawless outcome.
Dry The Walls
Thoroughly drying the walls after the cleaning process is vital to ensure a pristine and well-prepared surface for subsequent maintenance or finishing tasks after plastering.
Proper drying prevents moisture-related issues such as mold, mildew, or paint peeling. To facilitate drying, ensure good air circulation by opening windows and using fans. Wipe down excess moisture with a dry cloth, and consider using a dehumidifier in particularly damp areas. Pay special attention to corners and crevices.
Patience is key – allow sufficient time for the walls to air dry completely before proceeding with any further maintenance or finishing applications.
What Precautions Should You Take When Cleaning Walls After Plastering?
When cleaning walls after plastering, it is essential to observe specific precautions, including the use of protective gear, testing cleaning solutions, and avoiding harsh chemicals, to ensure a safe and effective cleaning process.
Protective gear, such as goggles, gloves, and a mask, should be worn to shield against any potential debris or fumes. It is crucial to test cleaning solutions in inconspicuous areas to ensure they do not react adversely with the plaster or paint.
Avoiding harsh chemicals, such as bleach or ammonia, is imperative to prevent damaging the newly plastered walls and maintain a safe and healthy environment for anyone involved in the cleaning process.
Learn more: How To Get Plastering Work
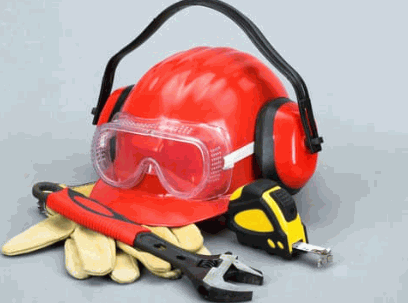
Wear Protective Gear
Wearing appropriate protective gear, such as gloves, goggles, and a mask, is crucial when cleaning walls after plastering to ensure personal safety and minimize exposure to debris and cleaning solutions.
These protective gears serve as a barrier against potentially harmful substances, preventing skin irritation, respiratory issues, and eye injuries. They play a vital role in creating a safe and productive cleaning environment.
When selecting gloves, opt for durable ones that fit well and provide adequate protection. Goggles should have a snug fit to shield the eyes from splashes and airborne particles, while masks should effectively filter out dust and fumes. It’s essential to use protective gear according to the manufacturer’s guidelines for optimal safety and effectiveness.
Test Cleaning Solution On A Small Area
Prior to full-scale application, it is essential to test the cleaning solution on a small area of the wall to ensure compatibility and assess its effectiveness without risking damage to the entire surface.
This preliminary test provides a crucial opportunity to observe the reaction of the cleaning solution with the specific wall material. To begin, select an inconspicuous area and apply a small amount of the solution using a soft cloth or sponge. Allow it to sit for the recommended time and then wipe it off gently. Look for any adverse reactions such as discoloration, staining, or damage to the surface. A successful test indicates compatibility and effective cleaning without causing harm to the wall’s finish.
Avoid Using Harsh Chemicals
It is essential to avoid the use of harsh chemicals when cleaning walls after plastering to protect the environment, prevent damage to the surface, and minimize potential health risks associated with strong cleaning agents.
Instead, opting for eco-friendly and non-toxic cleaning solutions can contribute to preserving the environment while effectively cleaning the surfaces. Harsh chemicals can not only harm the immediate surroundings but also seep into the soil and water systems, causing long-term damage to the ecosystem. Using milder alternatives helps in maintaining the integrity of the plastered walls and reduces the risk of discoloration or deterioration.
Prioritizing the selection of safer cleaning products not only safeguards our well-being but also aligns with sustainable choices for a cleaner, healthier living environment.
How Often Should You Clean Walls After Plastering?
The frequency of cleaning walls after plastering is influenced by factors such as ongoing maintenance, renovation activities, and the specific requirements of the surfaces, necessitating periodic cleaning to uphold their condition and readiness for subsequent treatments.
Ongoing maintenance needs, such as regular dusting and removal of any accumulated dirt or grime, play a crucial role in determining the cleaning frequency. Renovation activities, such as sanding or painting nearby surfaces, may lead to dust settling on the plastered walls, requiring more frequent cleaning. The specific surface conditions, including the texture and porosity of the plaster, also dictate the cleaning interval. It’s essential to assess the optimal cleaning frequency based on the unique requirements of the surfaces and the intended subsequent treatments for effective maintenance.
