Skim plastering, also known as skim coating, is a technique used to create a smooth and flawless finish on walls and ceilings. This article will guide you through the process of skim plastering, covering everything from the tools and materials you’ll need to the step-by-step instructions for achieving professional results.
Whether you’re a seasoned DIY enthusiast or a novice looking to tackle a home improvement project, understanding the ins and outs of skim plastering can help you achieve a polished and professional look in your space. We’ll explore the importance of proper preparation, the common mistakes to avoid, and the time it takes to complete the process. By the end of this article, you’ll have a comprehensive understanding of how to skim plaster a wall and the confidence to take on this task with ease. Let’s delve into the world of skim plastering and uncover the secrets to a flawless finish.
What Is Skim Plastering?
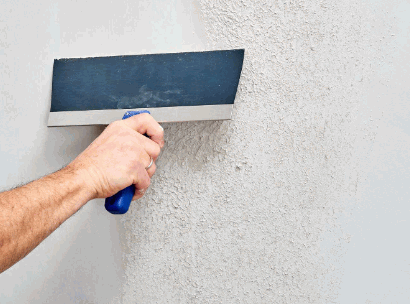
Skim plastering is a technique used to achieve a smooth and even finish on interior walls.
It involves applying a thin coat of plaster over existing surfaces, helping to conceal imperfections and create a flawless backdrop for painting or wallpaper. The main purpose is to enhance the overall appearance of the walls, providing a clean and professional finish. Skim plastering can effectively transform the look of a room, giving it a modern and polished aesthetic. It is a popular choice for home improvement and renovation projects, offering a cost-effective way to refresh and upgrade interior surfaces, ultimately adding value to the property.
When Should You Skim Plaster A Wall?
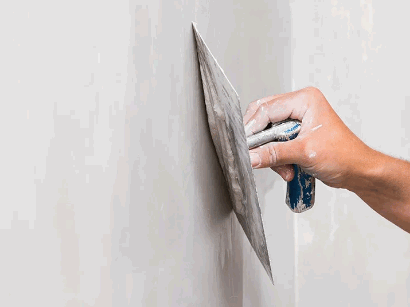
Skim-plastering a wall is recommended when seeking to renovate or improve the aesthetic appeal of the interior surface.
It is particularly beneficial in DIY projects, construction, and maintenance activities. Skim plastering helps to create a smooth, uniform surface, hiding imperfections and providing a clean canvas for painting or wallpapering.
The impact of skim plastering on the overall appearance and functionality of the walls is significant. It can enhance the visual appeal of a room, increase the durability of the walls, and improve insulation. It can help to level uneven surfaces and provide a finished, polished look to the walls, adding value to the property.
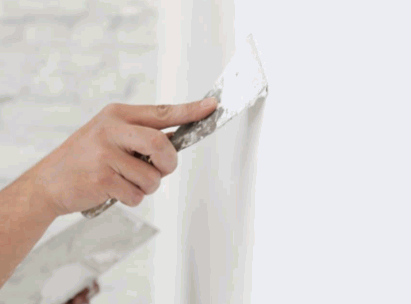
What Tools And Materials Do You Need For Skim Plastering?
To engage in skim plastering, you will need various tools and materials to ensure a successful application and finish.
These essential tools and materials include:
- A mixing paddle for blending the plaster.
- A hawk to hold the plaster.
- Trowels for spreading and smoothing.
- A bucket for water.
Protective gear such as gloves, safety goggles, and a dust mask are crucial to ensure personal safety during the process. Using the right tools not only facilitates the application but also enhances the quality of the plastering job. Proper safety practices and equipment contribute to a smooth and efficient workflow, ultimately leading to a professional and satisfactory finish.
Plastering Trowel
The plastering trowel is a crucial tool for the application and finishing of plaster on the wall surface.
It is designed with a flat, smooth metal blade that allows for efficient spreading and smoothing of the plaster. The sharp edge of the trowel enables precise application, ensuring that the plaster is evenly distributed. Using the right trowel is vital for achieving a smooth and uniform plaster finish. Different types of trowels, including corner trowels and finishing trowels, cater to specific applications and finishing techniques, making them essential for professional plastering projects.
The proper use of the plastering trowel greatly influences the final appearance and durability of the plasterwork.
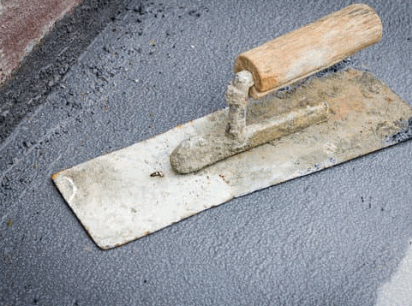
Hawk
The hawk is a necessary tool for preparing and holding the plaster during the application process.
It serves as a convenient platform for tradespeople to carry and access the plaster as they work, eliminating the need to repeatedly return to a bucket or mixing container. The hawk enables a smooth and even distribution of the plaster, allowing for precise application onto walls, ceilings, or other surfaces. Its flat surface provides stability and support for the plaster, ensuring that the skilled craftsmen can focus on creating a flawless finish without interruptions from the plaster’s preparation and handling.
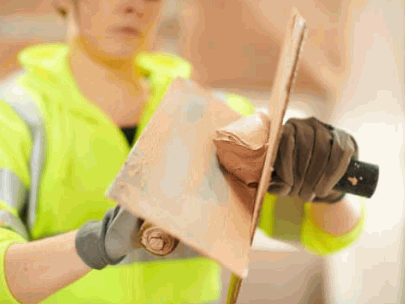
Bucket
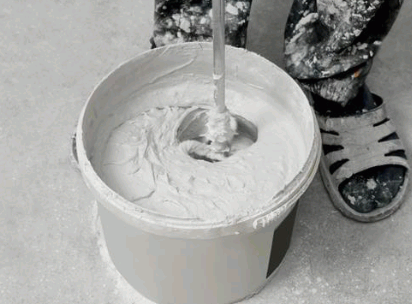
A bucket is essential for mixing and preparing the plaster before the application process.
It plays a vital role in ensuring that the plaster mixture attains the necessary consistency and texture for smooth application onto the surface. When preparing the plaster, the bucket allows the plasterer to carefully measure and mix the appropriate ratio of plaster and water, ensuring that the mixture is lump-free and evenly blended. This step is crucial as it directly impacts the quality and durability of the skim plaster finish. Without the proper use of a bucket for mixing, achieving the desired results can become challenging.
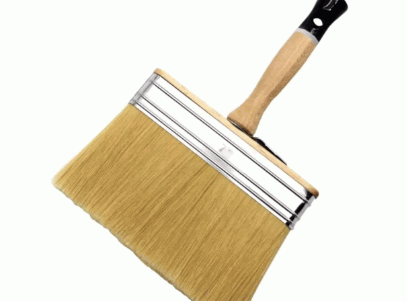
Plastering Brush
The plastering brush serves as a valuable tool for application and finishing touches during the skim plastering process.
It is essential for smoothing and distributing plaster evenly, ensuring a uniform and aesthetically pleasing finish. The bristles of the brush are designed to hold and spread the plaster effectively, reducing the likelihood of streaks or uneven patches. By using the brush in a methodical and rhythmic manner, plaster can be applied and blended seamlessly, resulting in a professional-looking surface.
The brush’s ergonomic design makes it comfortable to hold and maneuver, minimizing fatigue during extended use.
Sandpaper
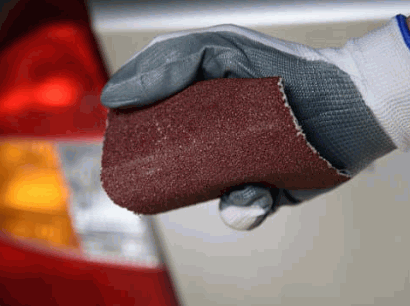
Sandpaper is essential for smoothing and refining the plaster surface to achieve a seamless finish.
It plays a crucial role in the process of skim plastering, allowing for the removal of any imperfections, bumps, or rough areas on the surface. By using different grades of sandpaper, skilled tradespeople can gradually refine the texture of the plaster, ensuring that it is even and consistent. This technique not only enhances the aesthetic appeal of the finished work but also contributes to its durability, as a well-sanded surface provides better adhesion for subsequent layers or paints.
Jointing Knife
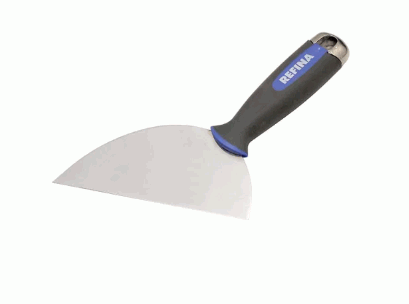
The jointing knife is a key tool for achieving precise finishes and managing edges during the skim plastering process.
It plays a crucial role in ensuring clean and defined edges, allowing for a smoother and more professional finish. By carefully manipulating the plaster, the jointing knife helps to achieve a seamless surface, removing any imperfections or excess material. This attention to detail is essential for achieving professional results and creating a polished look in plastering projects.
The precision and control provided by the jointing knife contribute to the overall quality and smoothness of the plastered surface, making it an indispensable tool for skilled plasterers.
Plasterboard Adhesive
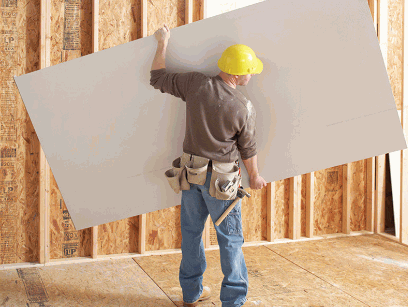
Plasterboard adhesive is essential for bonding and securing the plasterboard to the wall surface.
It plays a crucial role in ensuring a strong, durable bond between the plasterboard and the wall, which is vital for the success of the skim plastering process. The adhesive creates a firm and lasting connection, preventing the plasterboard from loosening or detaching over time. This not only enhances the overall adhesion of the plaster but also contributes to the long-term durability of the plastered surface, providing a smooth and professional finish that stands the test of time.
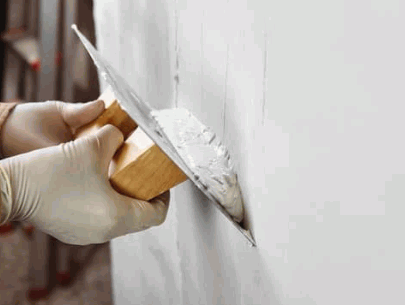
Plaster
Plaster serves as the primary material for creating a smooth and even finish on the wall surface.
It plays a crucial role in achieving the desired consistency and texture in skim plastering. The process of mixing and preparing the plaster involves carefully measuring the water and plaster to ensure the right proportions.
The consistency of the plaster is essential as it determines how well it adheres to the wall and how smoothly it can be applied. Achieving the ideal consistency requires attention to detail and experience to know when the mixture is just right for the desired finish.
Water
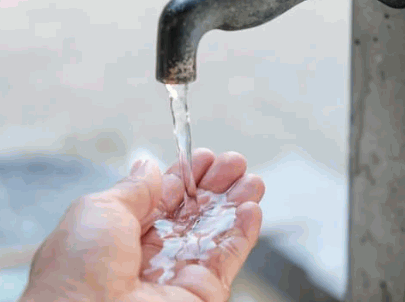
Water is an essential component for achieving the correct consistency and texture when mixing plaster for application. It plays a crucial role in the chemical reaction that transforms the plaster from a dry powder into a workable material. Adding a precise amount of water is vital for achieving the desired result, as too much water can lead to a runny consistency, while too little can result in a stiff, difficult-to-use mixture.
Measuring and adding water accurately is essential for ensuring that the plaster spreads smoothly and adheres effectively to the desired surface, ultimately impacting the quality of the finished work.
What Are The Steps To Skim Plaster A Wall?
The process of skim plastering a wall involves several essential steps to achieve a smooth and professional finish.
- Prepare the wall surface by filling any cracks and ensuring it is clean and free from dust or debris.
- Apply a thin layer of plaster evenly across the wall using a trowel, working in small sections.
- Use a plasterer’s float to smooth and level the surface, ensuring an even thickness.
- Allow the plaster to partially set, then lightly dampen the surface and use a trowel to further smooth any imperfections.
- Once the plaster is completely dry, carefully sand the surface to achieve a smooth texture.
- Prime the wall before applying the final coat of paint for a flawless finish.
Preparation
Preparation is crucial in skim plastering and involves assessing the wall surface, making necessary repairs, and ensuring a clean and even base.
This initial stage sets the foundation for a successful skim plastering project. Assessing the wall surface involves identifying any imperfections or irregularities that may affect the application of the plaster. Addressing repairs such as filling in holes and cracks is essential to achieve a smooth and flawless finish.
Creating a suitable base through proper cleaning and leveling ensures optimal adhesion and uniformity in the plaster application. The quality of the preparation directly impacts the overall durability and aesthetic appeal of the plastered surface.
Find out more: How To Clean Walls After Plastering
Applying The First Coat Of Plaster
The application of the first coat of plaster sets the foundation for building layers and establishing a strong bond with the wall surface.
This initial coat plays a crucial role in creating a level and sturdy base for subsequent layers of plaster. It requires precision and attention to detail to ensure an even and uniform application. The first coat acts as a key bonding layer, enhancing the adhesion of the subsequent layers with the wall, ultimately contributing to the overall durability and strength of the plaster finish. Its proper application is vital for a smooth and flawless final surface, making it an essential step in the plastering process.
Applying The Second Coat Of Plaster
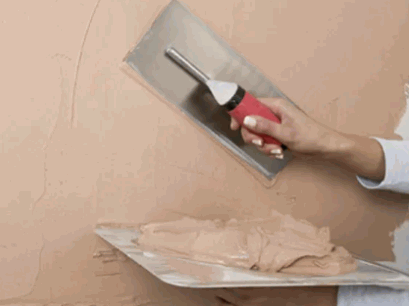
The second coat of plaster is crucial for achieving an even finish and ensuring the desired thickness on the wall surface.
Applying the second coat of plaster involves utilizing techniques to ensure an even application and smooth texture. A trowel is used to spread the plaster evenly, working from the bottom to the top in overlapping strokes. It’s important to maintain consistent pressure to achieve uniform thickness. This second layer greatly impacts the overall appearance, as it fills in any imperfections and creates a professional, seamless look. The smooth and uniform application of the second coat is essential for a flawless final result.
Smoothing And Finishing The Plaster
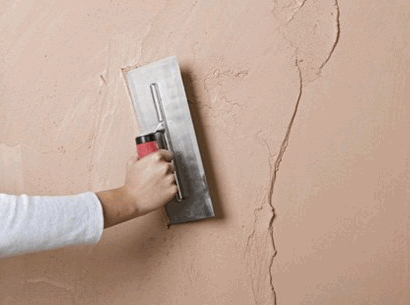
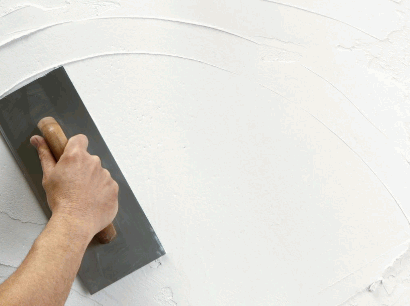
The final step involves smoothing and skimming the plaster to achieve an aesthetic and uniform finish on the wall surface.
This step is crucial as it ensures the surface is free from any imperfections such as bumps, rough patches, or uneven textures. Professionals use various tools like trowels and floats to spread and flatten the plaster, carefully working to achieve a flawlessly smooth surface.
The proper finishing not only enhances the visual appeal of the wall but also creates an ideal base for any subsequent decorative treatments such as painting or wallpapering. It’s essential to pay attention to this detail as it significantly impacts the overall aesthetics and longevity of the wall.
How Long Does It Take To Skim Plaster A Wall?
The time required to skim plaster a wall depends on various factors, including drying time, application techniques, and the size of the wall surface.
Drying time is influenced by environmental conditions such as temperature and humidity, impacting the overall duration of the plastering process. Efficient application techniques, such as using the right tools and applying consistent pressure, can significantly reduce the time needed for a smooth finish.
Considerations for time-saving practices include proper preparation of the surface and using quick-drying skim plaster. On average, for a standard-sized wall, the skim plastering process can take anywhere from a few hours to a day, but efficient practices and favorable conditions can expedite the timeline.
What Are The Common Mistakes To Avoid When Skim Plastering?
When skim plastering, it is important to be aware of common mistakes to avoid, such as surface imperfections and the need for subsequent repairs.
One common mistake in skim plastering is not properly preparing the surface before application. This can lead to uneven drying and cracking once the plaster sets. To avoid this, ensure that the surface is clean, smooth, and free from any dust or debris. Applying an appropriate primer can help create a more stable base for the plaster.
Another pitfall is rushing the application process. It’s crucial to take your time and follow the manufacturer’s instructions for mixing and applying the plaster. Hastily done work often results in uneven thickness, air bubbles, and other imperfections that require costly repairs. Taking the time to apply the plaster carefully and methodically can save both time and money in the long run.
